-
![]()
Official licensed product of the NHL
Rinks
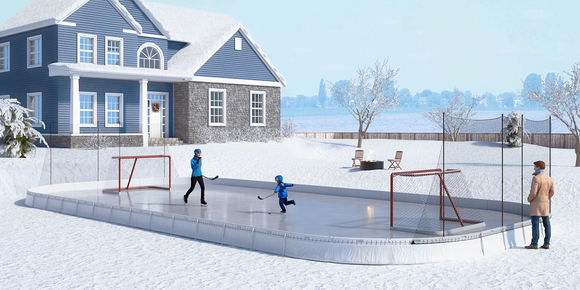
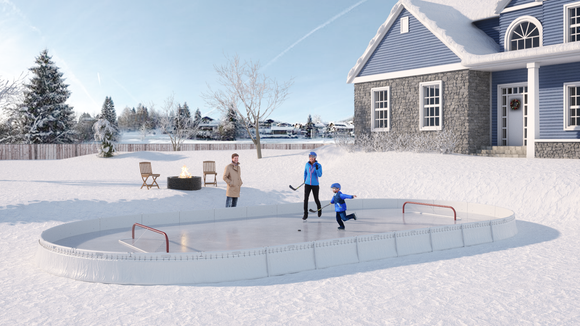
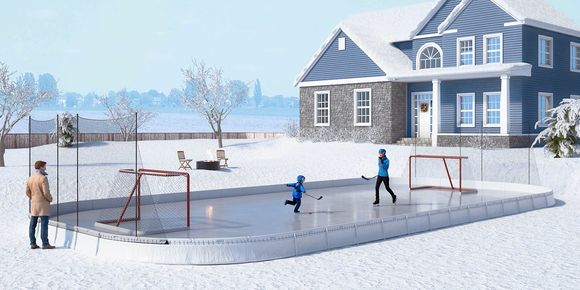
Choose from one of our best-sellers, or customize your rink to best suit your space! Every rink ships with NHL team logos of your choice plus NHL shield logos. And every rink ships with two Puck Retention Nets.
General Questions About YardRink
What makes YardRink so special?

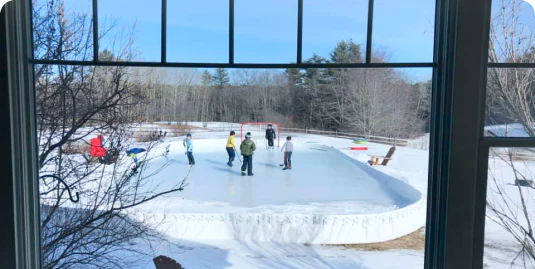
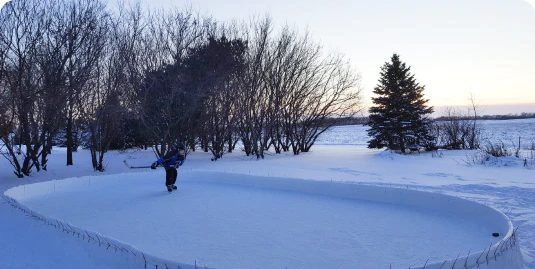
YardRink is North America's fastest-growing backyard rink brand! Imagine the joy of unlimited ice time right in your own backyard. YardRink fosters the love of hockey, while providing an authentic rink experience to improve skills.
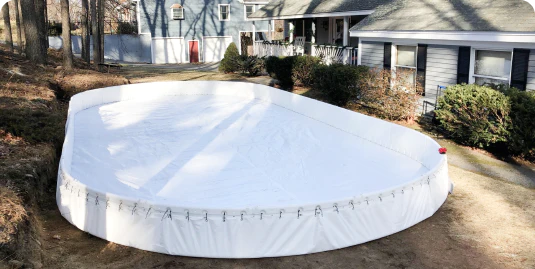
- Uniquely designed for realistic hockey play. Our custom-made, rounded corner Tarp goes on the outside of the Panels, out of the way of pucks, sticks, skates and shovels.
- As an official licensed product of the NHL, our rinks are designed for the ultimate hockey experience. Whether you're practicing your shots or enjoying a game with friends, our rinks offer unparalleled playability.
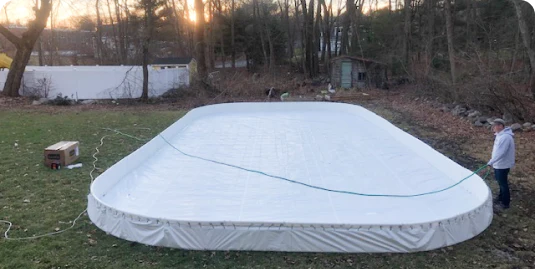
- Setup is a breeze! Say goodbye to complicated instructions. Our innovative design allows easy setup and maintenance. Just spread the Tarp, interlock the Panels, fasten the Tarp to the outside of the Panels, and fill the Panels with water. No measuring, no brackets – just pure, hassle-free fun!
- Crafted with patented technology by an MIT and Caltech PhD engineer, our rinks are a testament to cutting-edge innovation. Best design, best performance, best value.
- Join the growing YardRink community of ice hockey enthusiasts. It's not just a rink; it's an experience that brings families and friends together.
How do I setup my YardRink?

Instruction with illustrations are provided in the one-page laminated set up and take down card that comes with your rink. Here's the summary:
- Rake and level: Important -- Choose a location in your yard big enough for the rink and with no more
than 10” of slope in any direction. Remove all sharp rocks.
- Spread the tarp: Lines and marks should face up. Hint: In windy conditions, place a few partially-filled panels
on the tarp to hold it in place.
- Place the panels: To form the long walls, align the bottom inside edge of the straight panels with the blue lines woven
into the tarp. Form the corner walls by placing four curved panels each. Note: Short lines on the tarp indicate the
center of each side.
- Connect the links: Start at any panel: slide the panel rightward to position its link in front of its neighboring panel's link. While pulling the adjacent panels together snugly, insert the hex bolt using a cordless drill with the supplied hex bolt driver. Repeat this procedure for each successive pair of panels.
- Attach the tarp: Wrap cable ties to pull the tarp tightly toward the link. Important: use a cable tie for every eyelet. The free end of each cable tie can be trimmed off. If your yard has some slope, ensure the tarp on your deep end comes all the way up to the link. If needed to provide more slack in the tarp, the tarp on the shallow end can be connected to the links using (for each relevant eyelet) two cable ties 'daisy-chained' together. A single straight panel can also be removed, if needed, to allow for the best fit with your yard and the tarp.
- Install the stakes: At the vee at each end of every straight panel, hammer the stakes into the ground, taking care not to pierce the tarp. Important: angle stake slightly toward the rink and hammer each stake flush with the top of the panels.
- Fill the panels: Use a hose to fill each panel using the fill ports. Each panel holds about 7 gallons, and typically takes less than 40 seconds to fill.
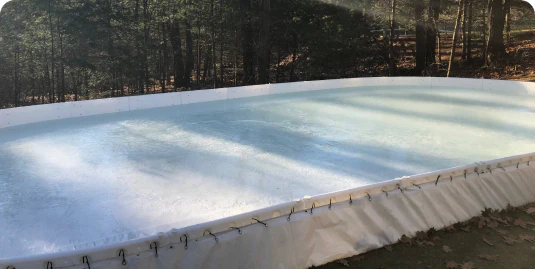
- Fill the rink: Note, we recommend a multi-layer freeze. First, fill the rink until the water line in the deepest area reaches the top of the indentations at the lower end of the panels (about 4 inches). Allow this layer of water to completely freeze. Then, add a few inches of water at a time, allowing each layer to completely freeze. Fill the rink until there is at least 4 inches of ice everywhere in the rink.
- Enjoy!
When should I setup my YardRink?

For the easiest installation, we recommend setting up your YardRink on a day with low wind, after most of the leaves have fallen, on or close to the day that you intend to begin filling the skating surface. Be sure to set up your rink before the ground has fully frozen, to allow for stake installation. YardRink setup is quick and easy, requiring no measuring, brackets, kick-plates, or bumpers. The water in the Panels and the rink may take a few days to freeze, depending on the weather.
What kind of maintenance does YardRink require?

Once your YardRink is set up for the season, little to no maintenance of the rink components is required. We recommend periodically checking to see that the Tarp remains securely fastened to the Links of the Panels by ensuring that all the cable ties are in place and pulled tight.
As for the rink’s skating surface, regular ice maintenance is recommended. Because the Tarp is on the outside, it is easy to run a shovel, snowblower or mini-Zamboni right up to the Panels, without fear of damaging the Tarp.
Tips and suggestions for optimizing your ice’s skating surface can be found online, including groups on Facebook dedicated to outdoor rinks.
Can I increase the size of my YardRink in the future?

Of course! Just e-mail us at CustomerCare@YardRink.com to get started. If you currently own a Starter Rink (17’ x 35’) and you would like to upgrade to a Standard Rink (26' x 53'), you can purchase our Upgrade Kit, which includes 18 additional straight panels (you'll then have 30 total -- 12 for each side and 3 for each end), a Standard size tarp, plus additional cable ties, hex nuts and stakes.
Replacement Items
-
![]()
Official licensed product of the NHL


